Introduction to Solar Panel Installation
Installing solar panels is one of the most significant home improvements you can make in 2026. With electricity prices continuing to rise and solar technology becoming more affordable than ever, millions of homeowners are making the switch to clean, renewable energy. This comprehensive guide will walk you through everything you need to know about the solar panel installation process.
Whether you're considering a small 3kW system to offset part of your electricity bill or a larger 10kW+ system to achieve complete energy independence, understanding the installation process will help you make informed decisions and avoid common pitfalls.
Step 1: Assessing Your Solar Potential
Before committing to solar, it's essential to evaluate whether your home is a good candidate for solar panels.
Roof Evaluation Checklist
- Roof Age: If your roof is more than 15 years old, consider replacing it before installing solar panels. Solar panels last 25-30 years, and you don't want to remove them for a roof replacement.
- Roof Orientation: South-facing roofs (in the Northern Hemisphere) receive the most sunlight. East and west-facing roofs can also work well with slightly reduced production.
- Shading Analysis: Trees, neighboring buildings, and chimneys can cast shadows that significantly reduce solar production. A professional installer will perform a shade analysis.
- Roof Material: Asphalt shingles, metal roofs, and tile roofs are all compatible with solar. Certain materials like slate or wood shake may require specialized mounting systems.
- Structural Integrity: Your roof must be structurally sound to support solar panels (approximately 2-4 pounds per square foot).
Available Space Requirements
A typical residential solar panel measures approximately 65 x 39 inches. Here's a rough guide for space requirements:
- 3 kW system: Approximately 200 square feet (8-10 panels)
- 5 kW system: Approximately 330 square feet (13-17 panels)
- 7 kW system: Approximately 460 square feet (18-23 panels)
- 10 kW system: Approximately 660 square feet (26-33 panels)
Step 2: Choosing the Right Solar Panels
Not all solar panels are created equal. Understanding the different types will help you make the best choice for your situation.
Monocrystalline Solar Panels
- Efficiency: 20-23% - highest efficiency available
- Appearance: Sleek black color, uniform appearance
- Best For: Limited roof space, maximum power production
- Price Range: $1.00-$1.50 per watt
- Lifespan: 25-30+ years with minimal degradation
Polycrystalline Solar Panels
- Efficiency: 15-17% - good efficiency at lower cost
- Appearance: Blue speckled color, slightly less uniform
- Best For: Budget-conscious installations with adequate space
- Price Range: $0.70-$1.00 per watt
- Lifespan: 25+ years
Thin-Film Solar Panels
- Efficiency: 10-13% - lower efficiency but unique advantages
- Appearance: Flexible, various colors possible
- Best For: Curved surfaces, portable applications, building integration
- Price Range: $0.50-$1.00 per watt
- Lifespan: 15-20 years
Step 3: Selecting an Inverter
The inverter converts DC electricity from your panels to AC electricity used in your home. There are three main types:
String Inverters
Traditional and cost-effective. All panels connect in series to a single inverter. Best for roofs with minimal shading and uniform orientation. If one panel underperforms, it affects the entire string.
Microinverters
Each panel has its own inverter, allowing independent operation. Ideal for roofs with shading issues or multiple orientations. Higher upfront cost but better long-term performance monitoring and warranty (typically 25 years).
Power Optimizers
A hybrid approach where each panel has an optimizer that feeds into a central inverter. Provides panel-level optimization at a lower cost than full microinverters. Good balance of performance and price.
Step 4: Getting Quotes and Choosing an Installer
We recommend getting at least three quotes from different installers. Here's what to look for:
Installer Qualifications
- NABCEP Certification: The gold standard for solar installers in the US
- Years in Business: Look for at least 5 years of experience
- Reviews and References: Check Google, Yelp, and the BBB
- Workmanship Warranty: Should be at least 10 years
- Insurance: Verify liability and workers' compensation coverage
Questions to Ask Installers
- What equipment brands do you install and why?
- Who handles permits and utility interconnection?
- What is your typical installation timeline?
- Do you offer production guarantees?
- What happens if my system underperforms?
- Can I see examples of similar installations?
Step 5: The Installation Process
Once you've signed a contract, here's what to expect:
Pre-Installation (1-4 weeks)
- Site Survey: Detailed measurement and analysis of your roof
- System Design: Engineering team designs optimal panel layout
- Permitting: Installer submits applications to local authorities
- Utility Application: Request for net metering interconnection
- HOA Approval: If applicable, submit plans for review
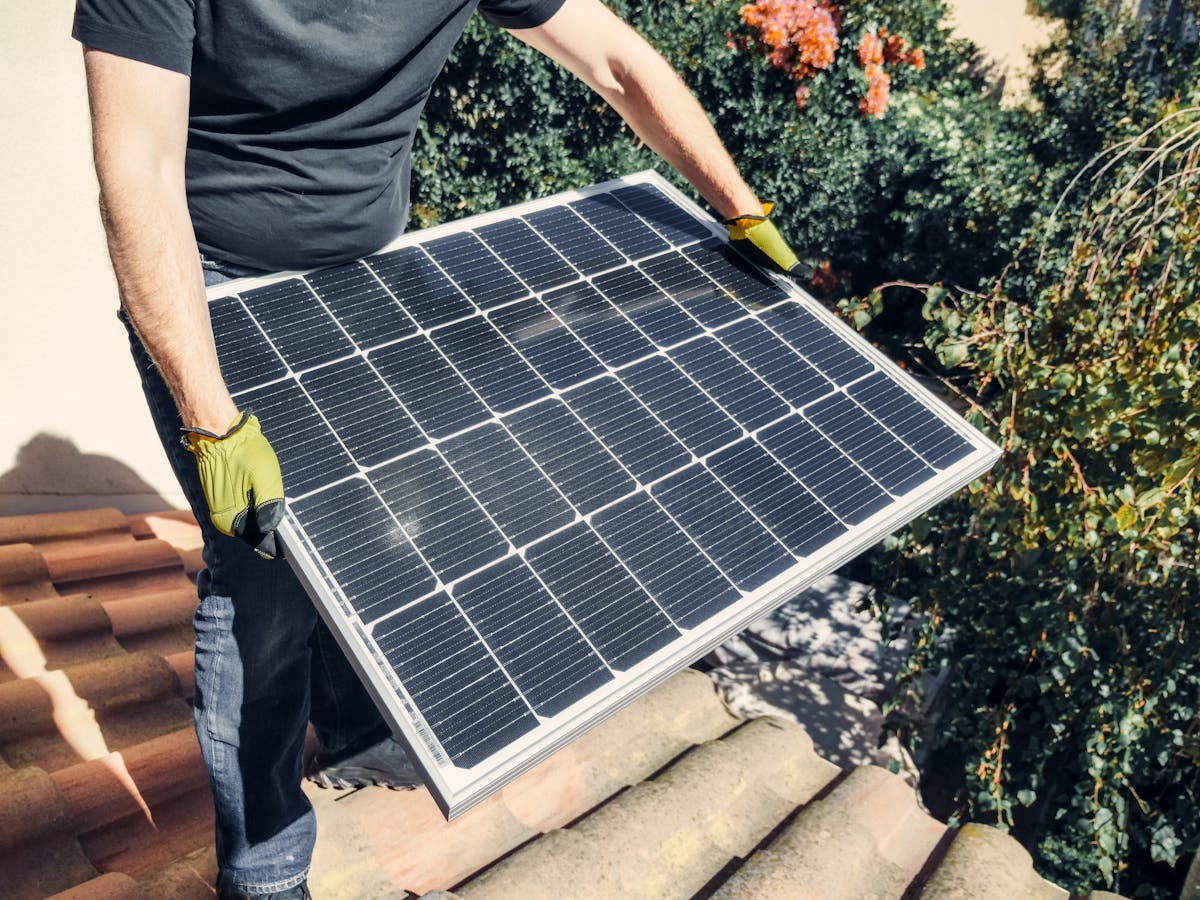
Installation Day (1-3 days)
- Mounting Hardware: Rails and attachments secured to roof (2-4 hours)
- Panel Installation: Solar panels mounted on racking system (2-4 hours)
- Electrical Wiring: Panels connected and routed to inverter (2-3 hours)
- Inverter Installation: Inverter mounted and connected to electrical panel (1-2 hours)
- System Testing: Verification that everything works correctly (1-2 hours)
Post-Installation (1-4 weeks)
- Inspection: Local building inspector verifies code compliance
- Utility Approval: Power company installs bidirectional meter
- System Activation: Permission to Operate (PTO) granted
- Monitoring Setup: Configure app for real-time production tracking
Step 6: Understanding Solar Permits
Solar installations require various permits depending on your location:
Common Permit Types
- Building Permit: Ensures structural safety of the installation
- Electrical Permit: Verifies proper electrical connections
- Interconnection Agreement: Permission to connect to the utility grid
- Zoning Approval: May be required in some jurisdictions
Most reputable installers handle all permitting as part of their service. Permit costs typically range from $200-$500 depending on your location.
Step 7: Costs and Financing
Understanding the full cost picture helps you plan your solar investment:
2026 Solar Installation Costs
- Average System Cost: $2.50-$3.50 per watt before incentives
- 3 kW System: $7,500-$10,500 (small home/apartment)
- 5 kW System: $12,500-$17,500 (average home)
- 8 kW System: $20,000-$28,000 (larger home)
- 10 kW System: $25,000-$35,000 (large home/high usage)
Financing Options
- Cash Purchase: Best long-term ROI, immediate ownership
- Solar Loan: Own your system with monthly payments (typically 5-25 years)
- Home Equity Loan: Lower interest rates, tax-deductible interest
- Solar Lease: No upfront cost, fixed monthly payment
- PPA (Power Purchase Agreement): Pay only for electricity produced
Step 8: Maximizing Your Investment
Take these steps to get the most value from your solar installation:
Claim All Available Incentives
- Federal ITC: 30% tax credit through 2032 (steps down after)
- State Tax Credits: Additional 5-25% in many states
- Utility Rebates: Cash incentives from some power companies
- SRECs: Sell renewable energy credits for ongoing income
- Property Tax Exemption: Solar doesn't increase property taxes in most states
Optimize Energy Usage
- Run high-energy appliances during peak solar production (midday)
- Consider a smart thermostat to shift HVAC usage
- Install LED lighting to reduce overall consumption
- Add insulation to reduce heating/cooling needs
Conclusion
Solar panel installation is a significant but rewarding investment. By following this guide, you'll be well-prepared to navigate the process confidently. Remember to:
- Assess your roof's solar potential thoroughly
- Get multiple quotes from qualified installers
- Understand your financing options
- Claim all available incentives
- Monitor your system regularly for optimal performance
Ready to see how much solar energy you could produce? Use our free Solar Production Calculator to get accurate estimates based on your location and system specifications.